
How to Press DTF Transfers on Caps: Settings
Caps need a curved platen because a flat press leaves cold spots along the crown seam, causing transfers to lift at the edges after the first wash cycle.
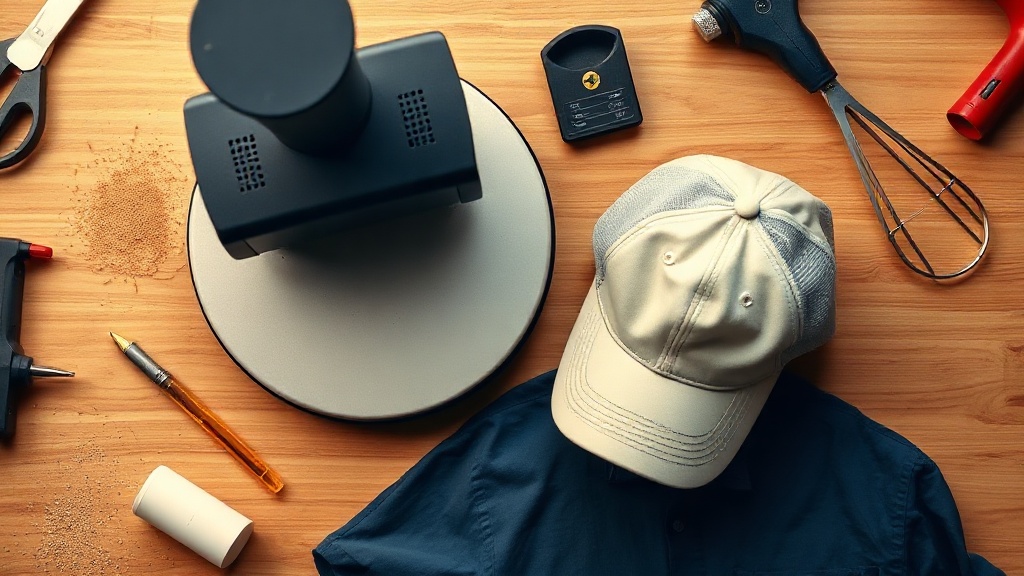
Why Caps Need a Curved Platen
The front panel of a structured cap is not flat. A flat lower platen contacts only the highest point of the crown and leaves the seam areas and edges without full pressure, so the adhesive in those zones never fully bonds. The transfer looks fine off the press and starts lifting at the edges after the first wash.
A cap press uses a curved lower platen that sits inside the crown and matches its interior contour. This delivers even heat and pressure across the full panel, through the seam lines, and into the outer edges where flat platens consistently fall short.
Temperature, Time, and Pressure
For cotton-twill structured caps, press DTF at 305-315°F for 12-15 seconds at medium pressure. Poly-blend performance caps run cooler: 285-295°F for 12 seconds prevents dye migration from the shell fabric.
Medium pressure means firm enough contact to fully bond the adhesive without crushing the crown structure. Too light produces weak adhesion at seam lines. Too heavy leaves visible platen marks on the fabric surrounding the print area.
Positioning the Transfer
Center the transfer on the front panel with the bottom edge 1.5-2 inches above the brim stitching. Mark your vertical center line with a water-soluble pen before running production. A half-inch error on a cap is visible from across a room.
Stay within the reliably flat zone of the front panel. The crown button area above and the brim curve below both move away from the platen surface, and designs that extend into those zones will not bond consistently.
Cold Peel Technique and Common Fixes
Golden DTF transfers are cold peel. After removing the cap from the press, set it flat and wait 15 seconds before touching the carrier film. Rushing a hot peel is the single most common cause of edge lift on structured caps.
Peel the film at a shallow angle parallel to the panel, not straight up. If the film resists, let the cap cool another 10 seconds. Forcing the peel pulls the transfer away from seam areas where adhesion is thinnest.
- Edges lifting after wash: pressure was too light at the seams. Add a foam shim inside the cap for even backing.
- Film wrinkling at seam lines: platen radius does not match crown depth. Try a shallower or deeper platen setting.
- Dull or chalky print appearance: temperature was under 305°F. Verify with a press thermometer.
- Platen marks on surrounding fabric: upper platen overhangs the front panel. Re-center before pressing.