How to Apply UV DTF Transfers: Technique and Prep
UV DTF transfers use no heat press: application is all about surface cleanliness, firm squeegee pressure, and a slow consistent peel that pulls the clear carrier film away without lifting the printed layer.
UV DTF vs Fabric DTF: Key Differences
Fabric DTF transfers use a hot-melt adhesive that requires heat and pressure to bond to fabric fibers. UV DTF transfers use a UV-cured adhesive that bonds to hard, non-porous surfaces, including stainless steel, acrylic, glass, ceramic, and coated metals, at room temperature with no heat press.
The tradeoff is substrate specificity. UV DTF excels on hard surfaces and struggles on flexible or textured substrates. Fabric DTF is the reverse. Both product types come from Golden DTF at $0.06/sq in base rate, tiering down to $0.03 at volume, with same-day shipping on orders placed before 1 pm ET.
Surface Preparation
Clean the application surface with isopropyl alcohol and a lint-free cloth immediately before applying the transfer. Remove all oils, fingerprints, dust, and moisture. Any contamination between the adhesive and the surface creates a bubble or a bond failure. On tumblers and cups, clean the full application area even if you plan to cover only part of it.
Temperature matters even without a heat press. Apply UV DTF transfers at room temperature on a surface that has been at room temperature for at least 15 minutes. Cold surfaces (fresh from a refrigerator, a cold storage area, or an air-conditioned vehicle) reduce adhesive tack and cause poor initial bonding.
Application Technique
Position the transfer on the surface with the printed side down. Beginning at one edge, use a squeegee or credit card wrapped in a soft cloth to press the transfer firmly against the surface, working from the center outward in one direction. Apply firm, consistent pressure. Light pressure leaves air underneath. Heavy, even pressure eliminates it.
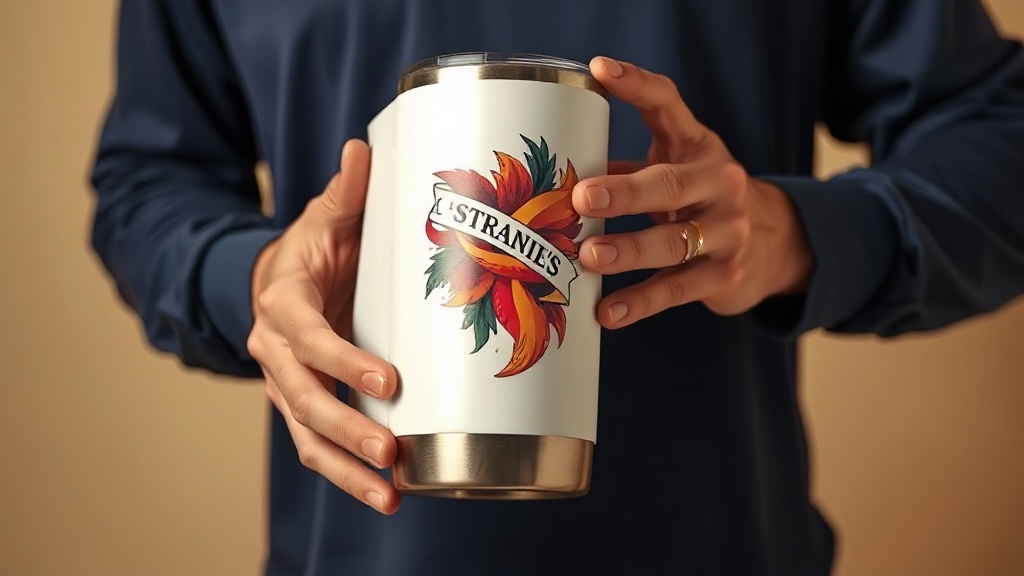
On curved surfaces like tumblers, work in small sections, pressing and conforming the transfer to the curve as you go. Start at the top and wrap downward. Large UV DTF designs on curved substrates should be trimmed to match the surface radius rather than forced to wrap without scoring.
Peel Technique and Troubleshooting
Peel the clear carrier film slowly, at a very low angle, barely above the surface. Fast peeling creates tension that lifts the printed layer at fine edges and thin lines. Take 5-10 seconds to peel even a small 3-inch design.
If a bubble appears, press it out before completing the peel. Reposition the squeegee over the bubble and push the air toward the nearest edge while the carrier is still partially attached. Once the film is fully removed, trapped bubbles cannot be removed without re-applying.
- Surface must be clean and dry: isopropyl alcohol wipe immediately before applying.
- Room temperature application only: cold surfaces reduce tack.
- Firm squeegee pressure from center outward eliminates bubbles.
- Peel carrier film at a very shallow angle over 5-10 seconds.
- Press out bubbles before completing the peel if they appear.