How to Photograph Printed Apparel With Your Phone
You do not need a studio or a photographer to shoot product photos that sell. Here is a practical setup any small shop or brand can execute in an afternoon with a phone and a few items you already own.
Why Your Photos Are the Sale
Customers cannot touch the garment. They cannot see the print in person. Your photo is doing all the work. A blurry or poorly lit image communicates low quality regardless of how good the actual product is.
DTF prints with crisp detail and vibrant color. Your photos should show that. A clean shot of a clean transfer on a good blank is a real competitive advantage on Etsy, Shopify, or Instagram.
The Setup You Actually Need
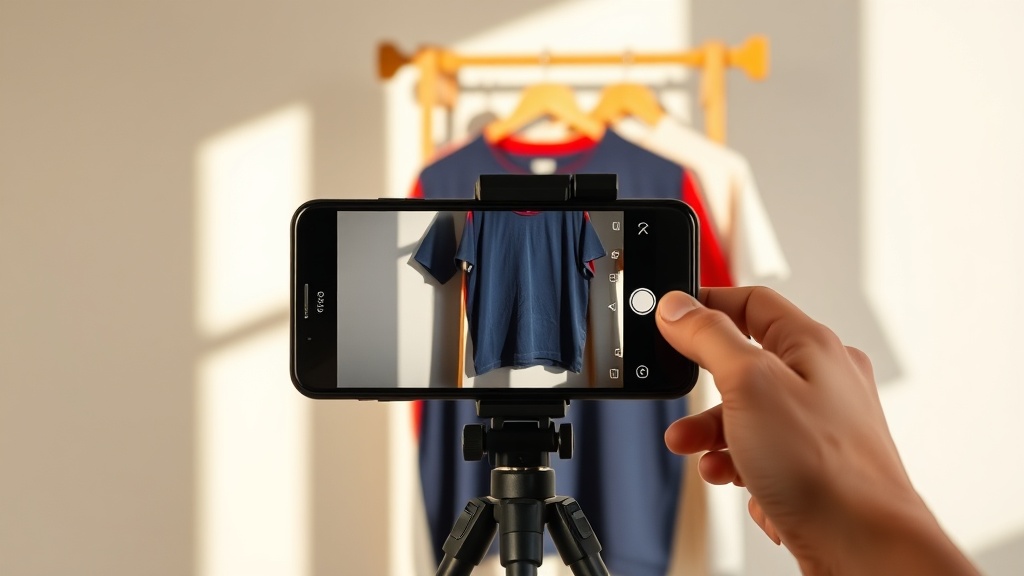
A window with indirect natural light (not direct sun), a flat white surface or a $12 foam board from a craft store, and a phone with the camera set to highest quality mode. That is the minimum viable studio.
Avoid overhead fluorescent light. It creates flat, greenish casts that make colors look dull. North-facing or shaded window light is ideal. Overcast days produce perfect, even light for product photography.
Flat Lay vs. Ghost Mannequin vs. On Body
Flat lay is the fastest approach and works well for showing print detail. Fan sleeves out symmetrically, steam or lightly iron before shooting, and use a lint roller on the garment.
On-body photos consistently outperform flat lays for conversion. Actual people wearing the product build more confidence in buyers. A ghost mannequin ($30 to $80) is a middle option that shows fit without requiring a model on every shoot.
Camera Settings and Stability Tips
Turn off HDR for product photos. HDR processing can shift colors in ways that misrepresent your print. Use standard photo mode and lock focus by pressing and holding the subject before shooting.
Use a 2-second timer or a Bluetooth shutter remote to eliminate camera shake. It costs about $8 and makes every shot noticeably sharper.
- Shoot in the highest resolution your phone supports
- Keep the camera parallel to the surface for flat lays to avoid keystoning
- Take 10 to 15 shots per product and select the best 2 or 3
Quick Editing With Free Tools
Lightroom Mobile (free tier) is the best free editing tool for product photos. Adjust white balance, lift shadows slightly, and add a small amount of clarity to make prints pop without looking over-processed.
The goal is accurate color, not an Instagram aesthetic. If your design has a specific red, the photo should show that red faithfully. Buyers who receive a garment that matches the photo trust you more on the next order.